If you are adding Medication to a care plan and the required item is not available in the drop down list, you can add the Medication in yourself.
Under your Settings menu, there is a Medication tab:

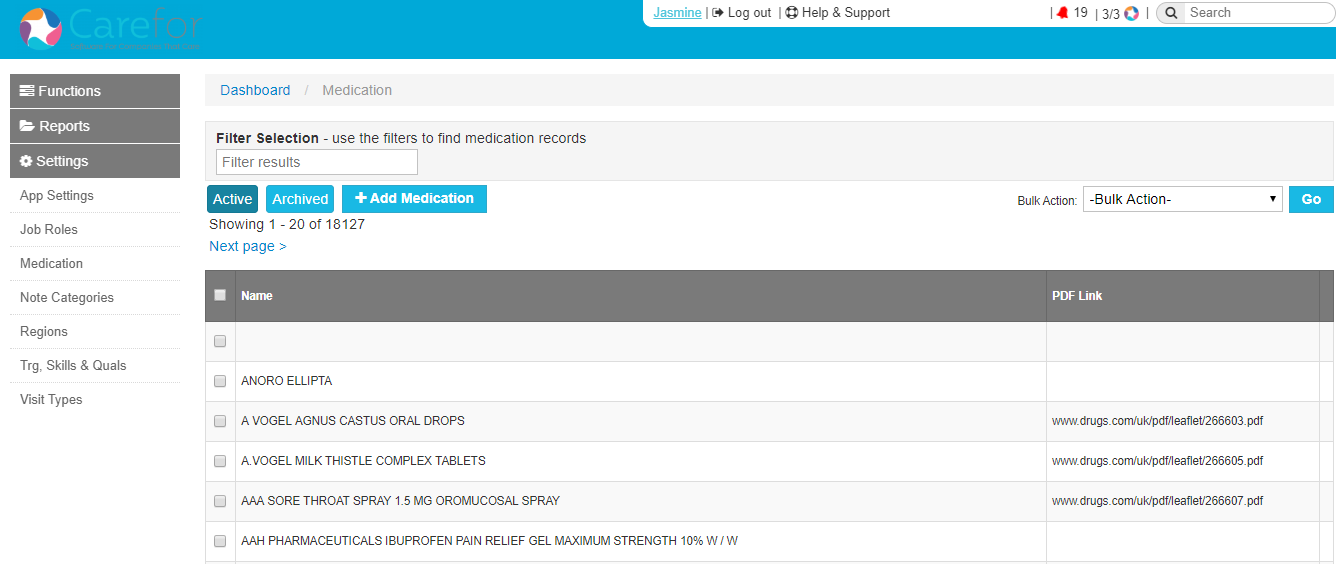
Clicking the Medication tab will take you to the Medication section where you can add or edit medication:

You can also reach the Medication screen directly from the Care Plan section of the Client profile, by clicking the highlighted button:

The Filter Results box allows you to search for a medication to see if it is already in the system. Start typing in the box and the results will filter. You also have the option to choose whether the results should only display live medication:

The last column in the medication table will indicate if the medication is live or not:

The red X means that medication is NOT LIVE, the green tick shows the medication is LIVE, and can be allocated.
If a padlock is displayed, this indicates the medication has already been assigned to a Client and because of this you cannot make it not live.
ADDING NEW MEDICATION
To add a new medication, click the Add Medication button.

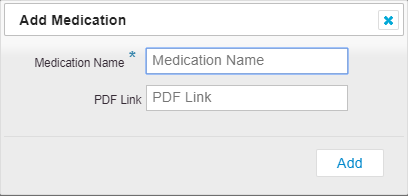
A pop up box will then appear where you can add the medication and if you have a link to the PDF containing the details of the medication, you can add this in the PDF Link box:

Once you have inputted all the information, clicking the Add button will save the medication.
MANAGING MEDICATION
As the existing medication list contains thousands of medications, you now have the option to disable any unused or unwanted medication from the list.
You can either disable or enable in bulk using the buttons:

Or, you can toggle individual medications by clicking the icons in the Live column to enable or disable them.
