CareFor provides three different options for building your rota. Here, we will look at the Wall view. To find detail on the other methods please click the following:
To begin creating your rota, you first need to locate 'The Wall' which is found under the 'Functions' menu, and then selecting 'Schedule' and 'The Wall'
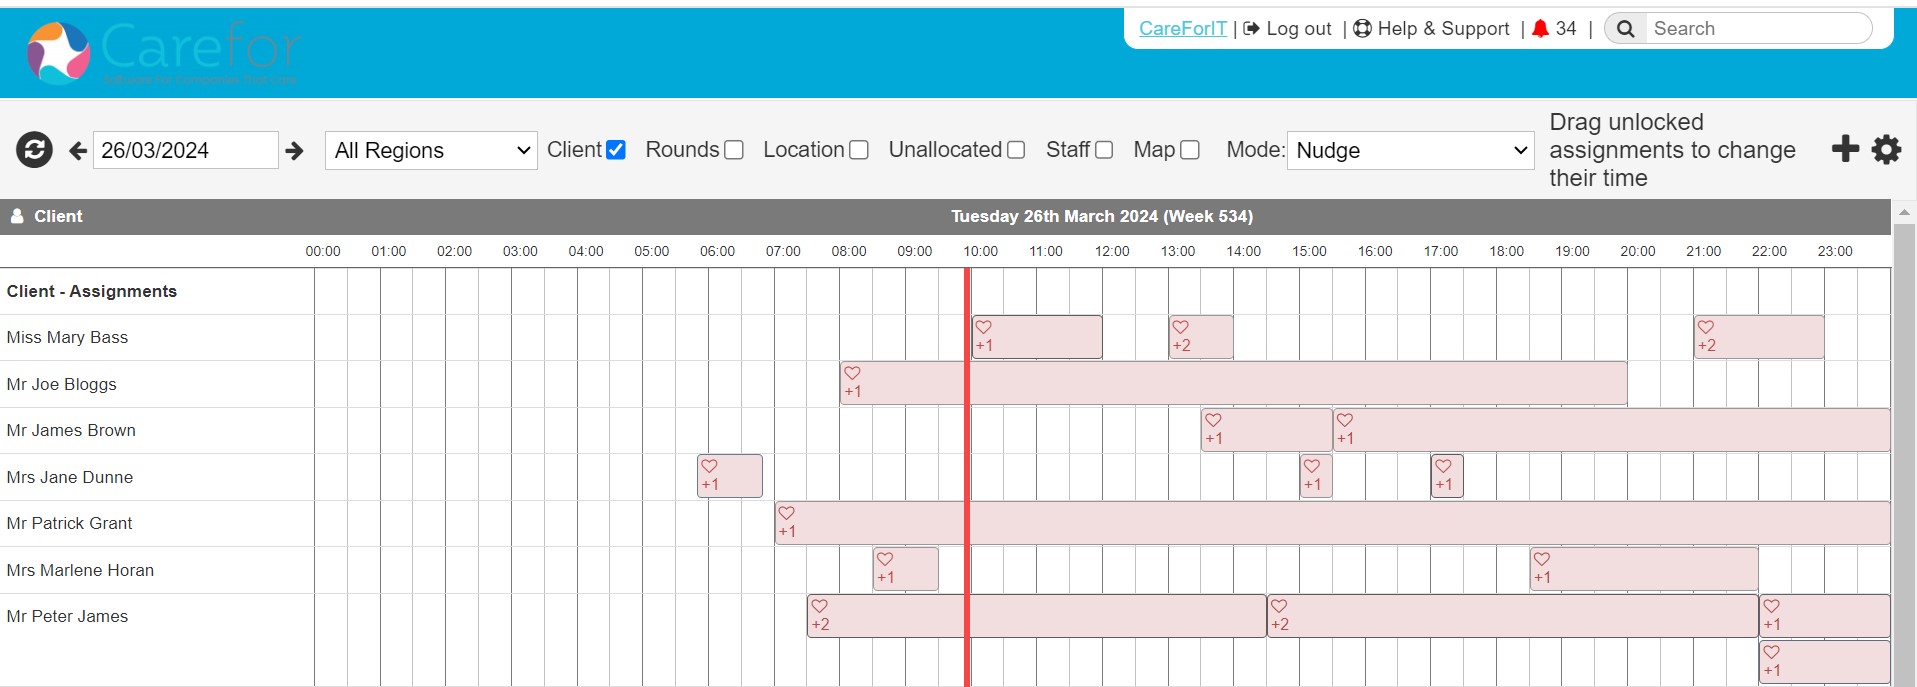
Once you have clicked, you will be taken to 'The Wall'. All unallocated assignments show up shaded pink, any that are already allocated will have the assignment type colour allocated to them. The vertical red line is only visible on today's date and indicates the current time.

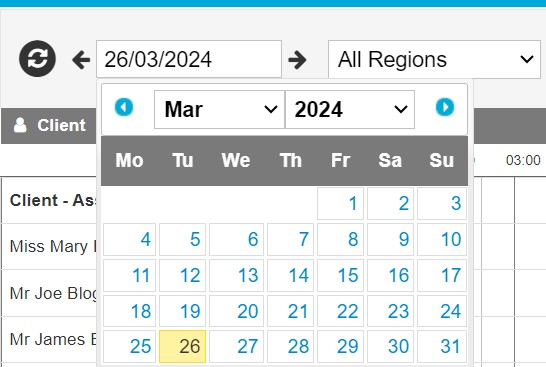
The Wall will always default to today's date, you can change the date by clicking in the date box and use the calendar to pick the day you wish to view

You also have filters for regions, and what options you want displayed

You can also change your view from one day to two (or more) by using the plus symbol to the right of the screen

The Wall Modes
The Wall has two modes - Nudge and Allocate Visits

Nudge Mode
The Nudge mode allows you to move visits horizontally along a row to alter the time

Visits can be moved backwards and forwards in time simply by selecting the visit(s) and dragging to the new time
If you wish to ensure you are allowing sufficient travel time when nudging visits on the staff line, clicking their name will show smaller grey "visits" alongside the regular visit. This grey "visit" is the travel time

Allocate Mode
To allocate visits to your carers you must be in Allocate mode.
Visits can be added singly, or in multiples as long as the visit times don't overlap. To grab multiple visits hold down CTRL and click the visits
Using your cursor, you then drag the visit(s) to the required carer and drop them onto their availability line

Checking staff are within their target hours
The Wall has a handy feature where if you have set target weekly hours for staff, you can see above their name on the wall where they are currently with their allocation for the week
In the example below, we can see Richard is over his weekly target hours as indicated by the red line above his name. Sarah is under her target hours as her line is green

If you hover over any staff member's name you can see more detailed information about their weekly target hours

Map
As part of the Filter line you have the option of Map.
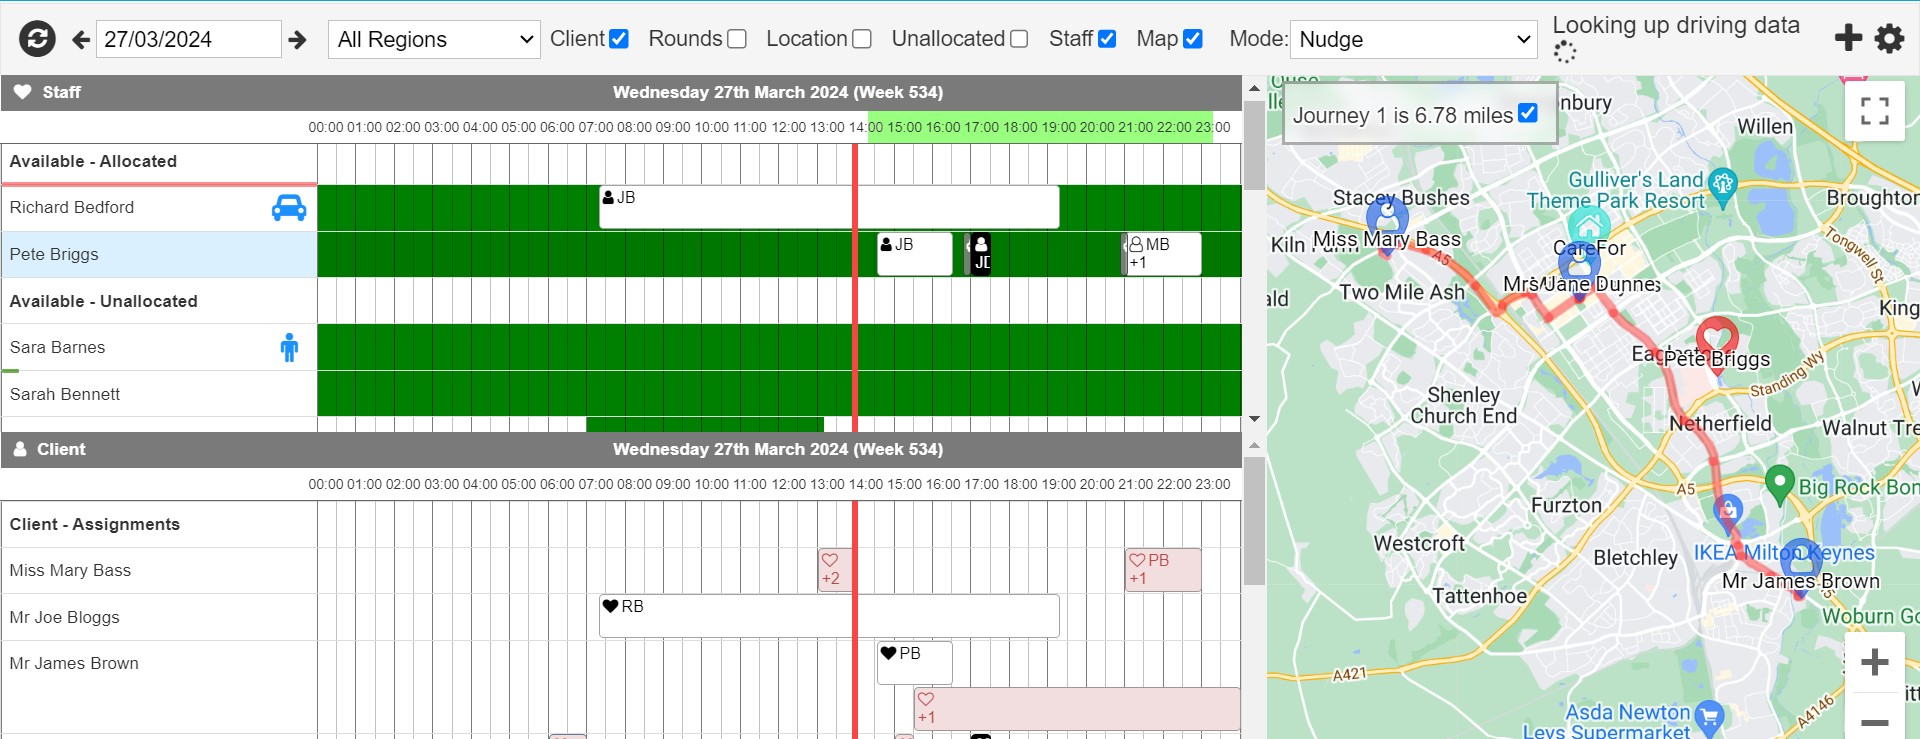
Clicking any Carer name and then choosing the Map filter allows you to see the journey route staff will be taking

Wall Settings
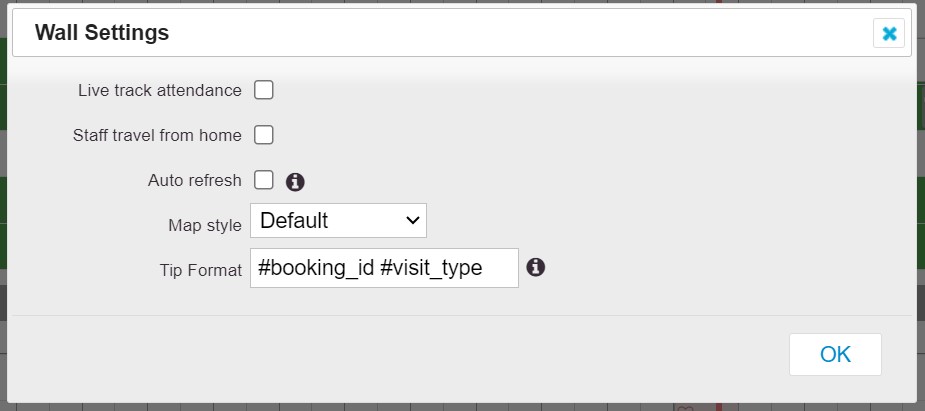
There is a cog located on the right side of the Wall. Within this cog you have various settings such as travel distance from home and the Map style. The Tip Format field allows you to choose which information is displayed when you hover over a visit

