CareFor provides three different options for building your rota. Here, we will look at the Wall view. To find detail on the other methods please click the following:
To begin creating your rota, you first need to locate 'The Wall' which is found under the 'Functions' menu, and then selecting 'Schedule' and 'The Wall'
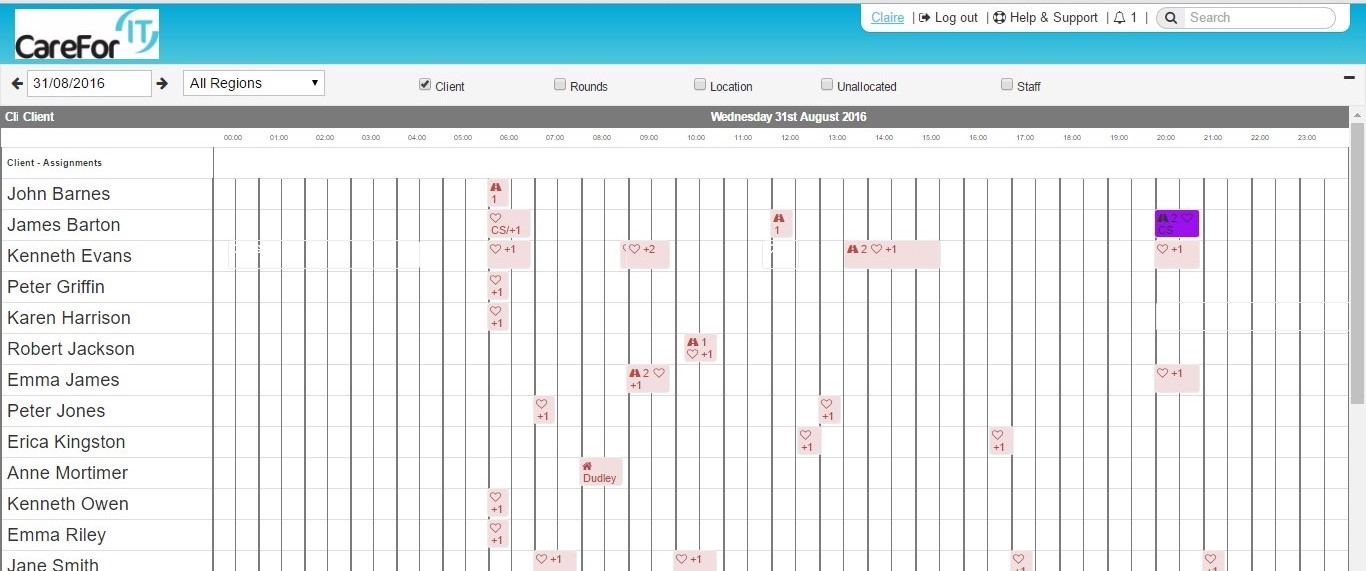
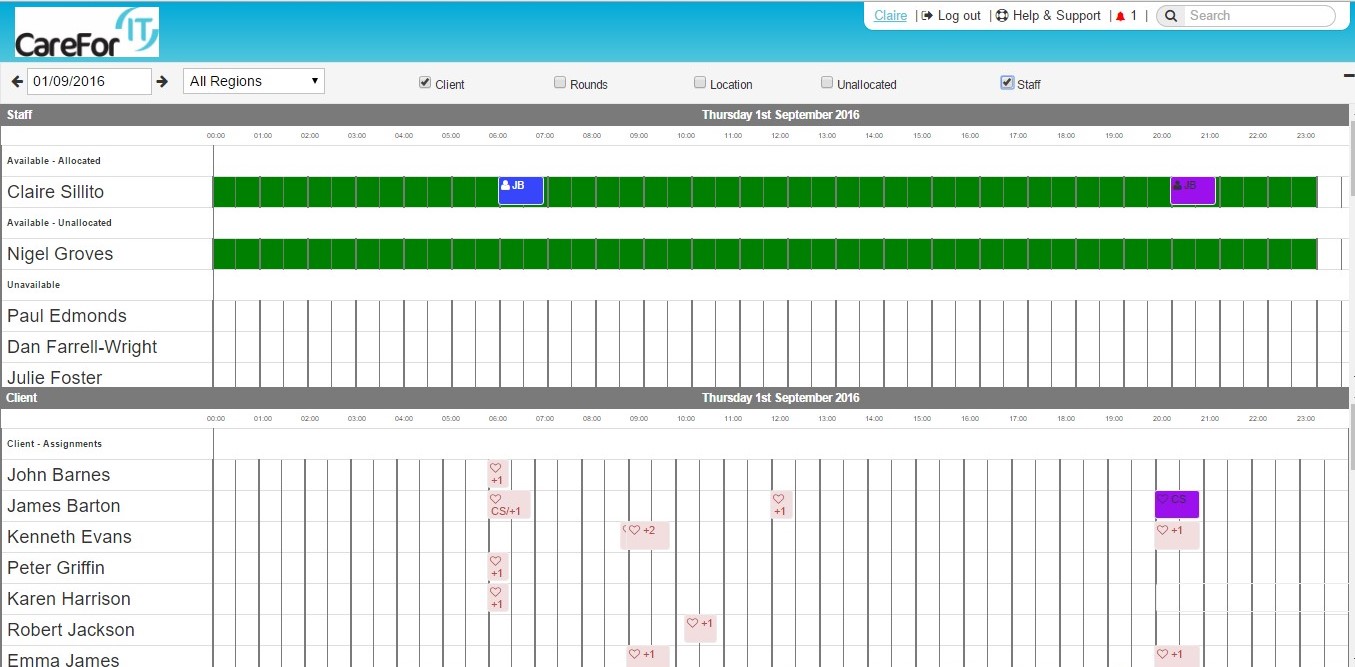
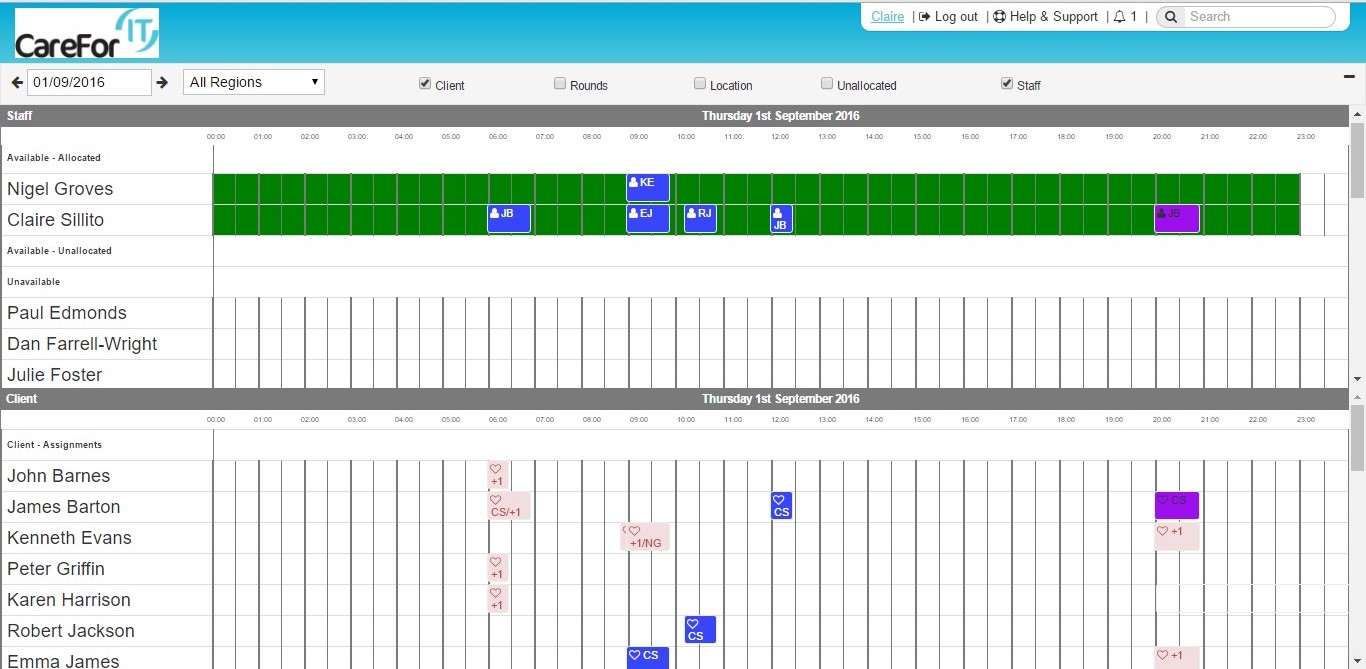
Once you have clicked, you will be taken to 'The Wall'. (Please note, all unallocated assignments show up shaded pink, any that are already allocated will have the assignment type colour allocated to them)
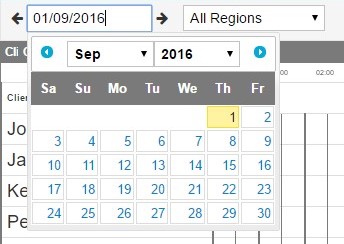
Once you are in your selected wall view, you can then choose which date you want to use to begin building your rota. To do this, click the box which contains the current date to bring up the calendar:
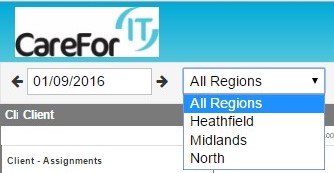
If you work in regions, you can also filter your view by individual regions:
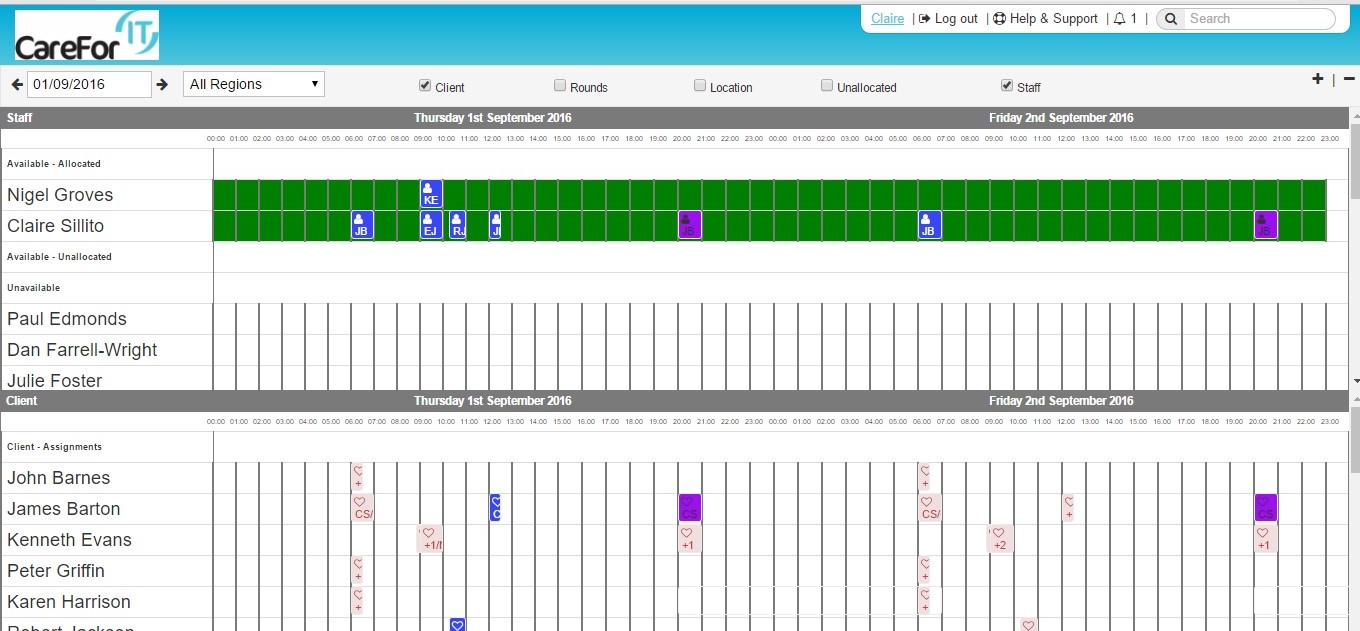
You can also change your view from one day to two (or more) by using the minus symbol to the right of the screen:
This will then compact the days. The example below shows a two day view, but you can press the minus button to zoom out more. Clicking the plus symbol will take you back:
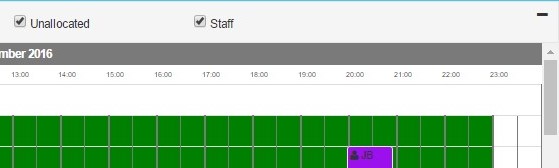
To begin allocating assignments to staff and carers, you will need to make sure that the 'Staff' and 'Client' boxes to the right of the date and region fields are ticked. Please note, that in order for an assignment to be allocated to a Carer, the Carer must be showing as available to work.
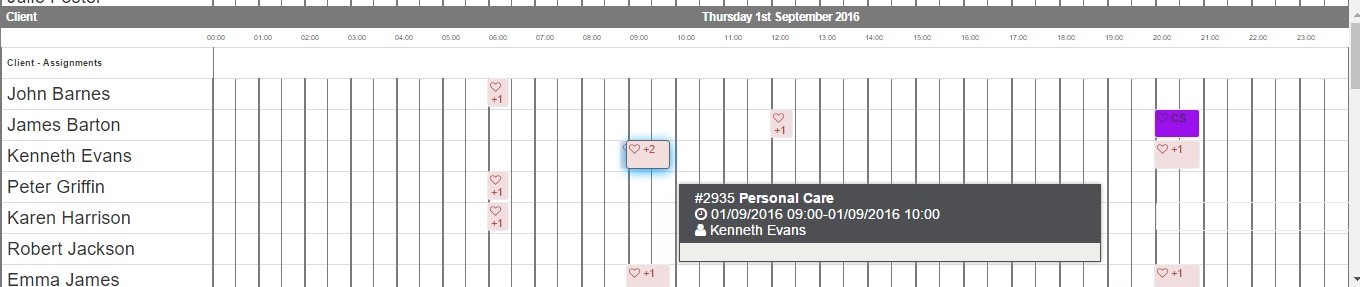
To allocate an assignment to a Carer, you will need to click the Assignment located on the Client's line. When you click the Assignment once, it will highlight in blue:
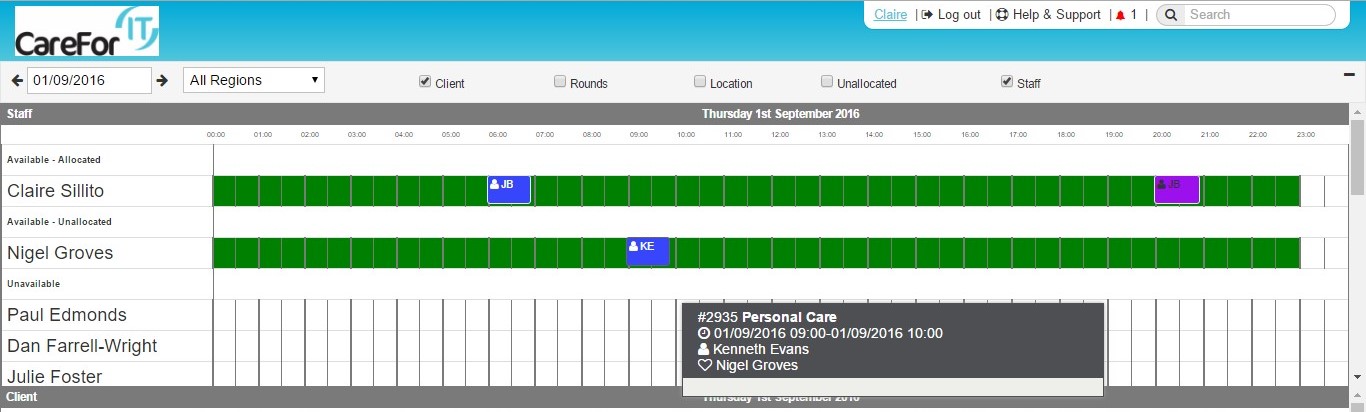
You then need to move your mouse into the are where the staff and carers are listed. Choose the Carer you wish to allocate the call to , and hover over the green area to the right of their name. You will notice the whole line is highlighted blue. Click anywhere in the green area to allocate that Assignment to the Carer. In the example below, you can see the Assignment has now been allocated to Nigel Groves:
You can select multiple Assignments, and allocate these to one Carer. To do this, click each Assignment you wish to allocate so they are all highlighted in blue:
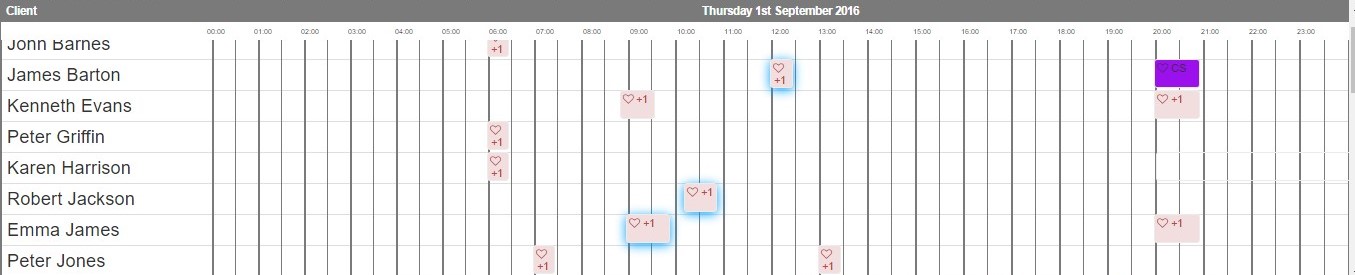
As with allocating a single Assignment, you then click into the green area of the Carer you wish to allocate the Assignments too. In the example below we can see the three assignments have all been allocated to Claire Sillito:
It is advisable, once you have completed your rota, to filter using the tick boxes and include the 'Unallocated' option. This will bring up any visits which have no Carer allocated to them and ensure that all Assignments are filled:
