CareForIT provides three different options for building your rota. Here, we will look at the Grid view. To find detail on the other methods please click the following:
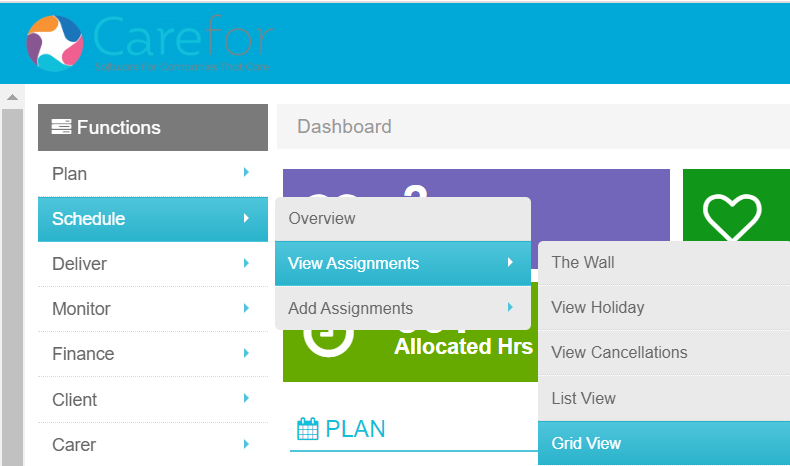
The Grid view is found by clicking the 'Schedule' tab under the 'Functions' menu:
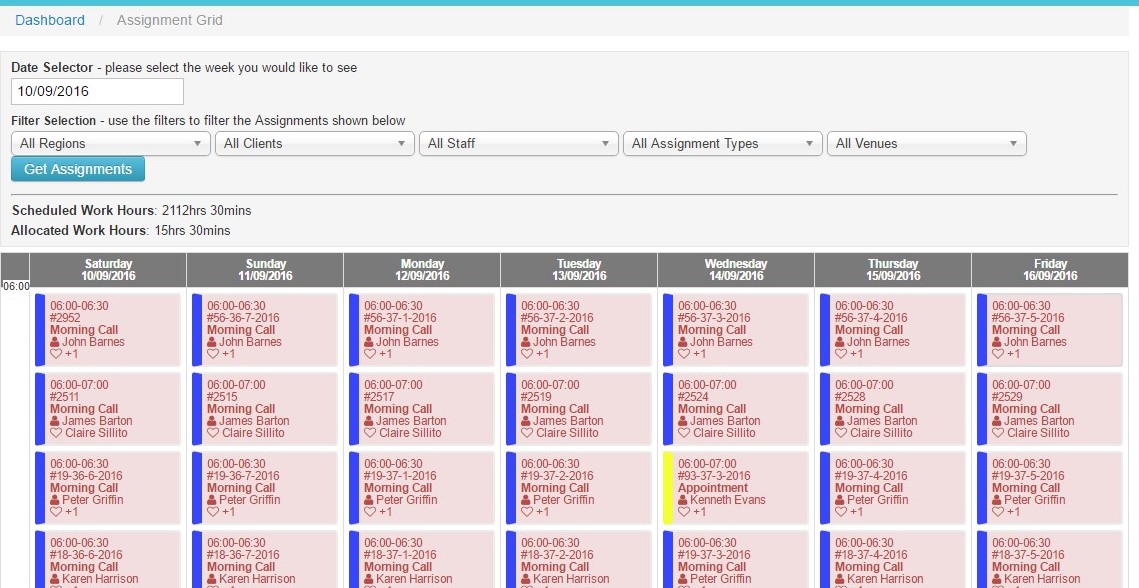
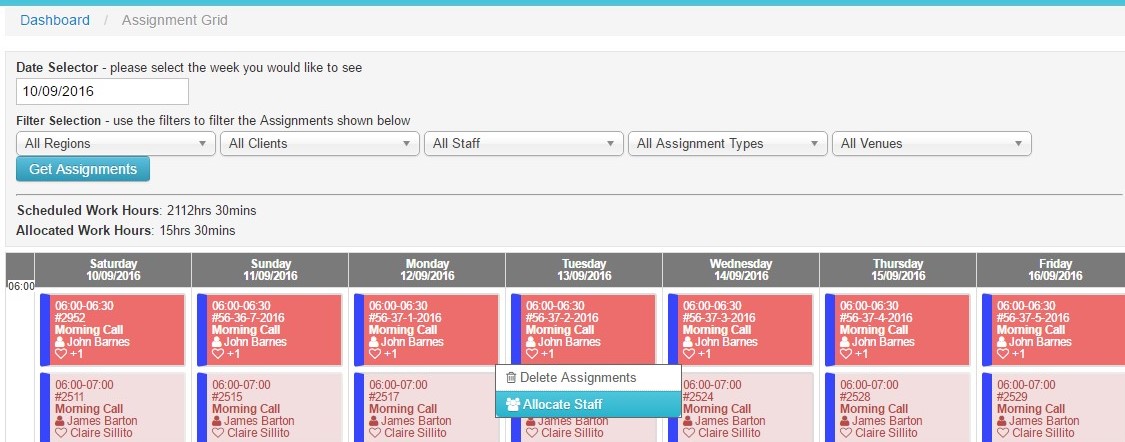
The Grid is always presented as a week, and you can change the week that you view using the 'Date Selector'. In the Grid view, any visit which shows up shaded pink is unallocated. Some Visits in the example below have a Carer name in them, but still appear pink. This is because it is a double handed Visit. The colours shown to the left of each visit relate to their Visit type:
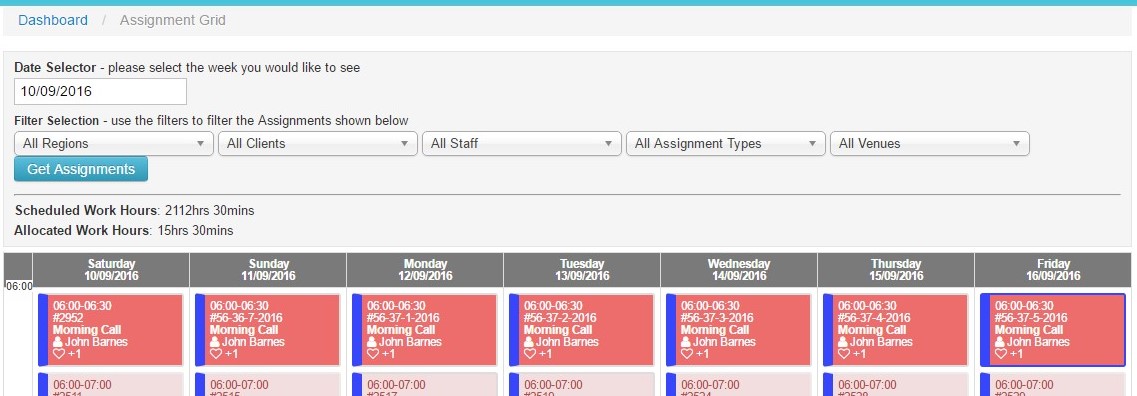
To allocate Visits to a Carer, you need to click each Visit once which will change the colour:
When you have selected all the Visits you wish to allocate, click one of the Visits again and you will be presented with a pop up which allows you to 'Delete Assignments' or 'Allocate Staff':
If you click the 'Allocate Staff' option, based on staff availability and any other mandatory criteria for that Visit, you will be presented with a list of available Carers:
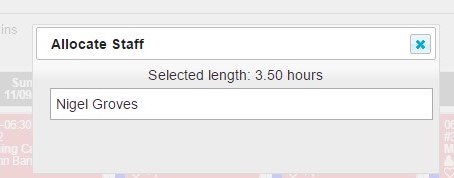
To allocate the Visits, select the Carer by clicking their name, and this will display the following:
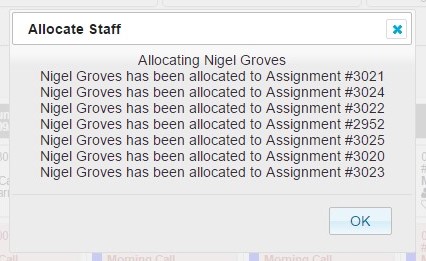
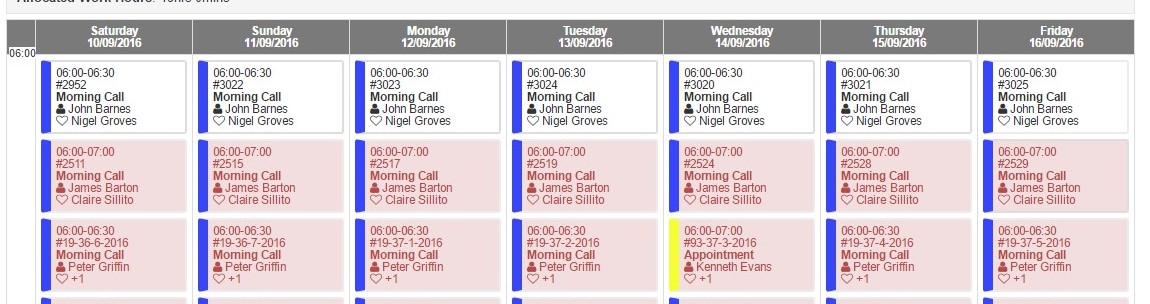
Clicking 'OK' will then save your selection and the Carer will be allocated to the Visits (note they have turned from pink to white):
When building your rota using the Grid view, you can apply the various filters to make it easier for you. In the example below, the week has been filtered by one Client:

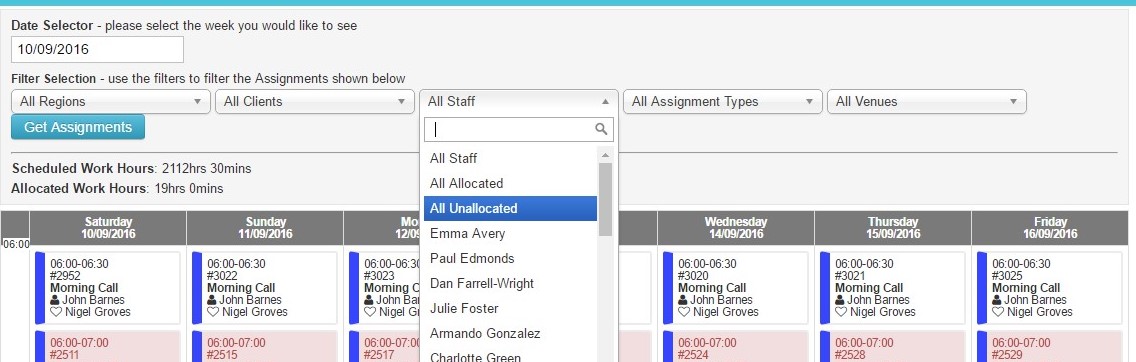
Once you have created your rota for the week, to ensure you do not have any gaps, it is advisable to filter the week by unallocated visits. This option is located within the 'All Staff' filter. Click 'All Unallocated' and then 'Get Assignments':